
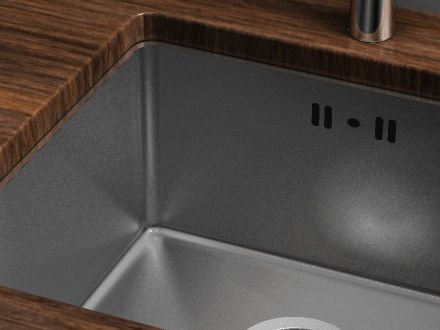
The Problem: You need to find out if you have a low pressure system, because either the kitchen tap you have doesn’t deliver enough hot water or you are considering replacing your existing kitchen tap and you have seen lots of information about high pressure, minimum pressure and don’t fully understand what you need!
The first thing to do is to figure out if you have a traditional gravity fed system?
In the first section, we explain just what to look for. A gravity fed system will start with a cold water feeder tank, normally located in the loft space. If you are in an apartment or don’t have a loft space, this tank can be located directly above your hot water tank. When and if you discover the cold feeder tank is in the loft, it’s worth noting at this point how high up it is in the loft. Many tanks are positioned on a wooden frame or platform to get them as high as possible. Whilst in the loft, take a measurement from the base of the loft floor to the bottom of the cold feeder tank – you will need this measurement later, when you come to work out your pressure.
The next task is to confirm you have a hot water cylinder, normally located in your airing cupboard, and traditionally surrounded by spare bedding and towels! It is important to ensure that, when you inspect the hot water tank, there has not been a pressure vessel added above the tank. If there is a small round tank sat above the main water tank, you may have a different system – a pressurised cylinder. We will cover this type of system in a later post, but a low pressure tap is not required in this instance.
So you have confirmed the location of the cold feeder tank and the hot water tank. The next job is to work out just what pressure your hot water is generating to your kitchen tap. The next diagram explains just how to do this.
In most modern properties, you will have the following sizes:
- Measurement from the tap spout to the kitchen ceiling: 1.2m
- Measurement from the floor to ceiling on the bedroom/1 st floor: 2.4m
- Distance from the loft floor to the bottom of the cold feeder tank 1.0m
- Total distance 4.6 metres = 0.46 Bar pressure.
However, that is not the end of it. In theory, the length of the pipe from the hot tank to the kitchen tap and any sharp bends in the pipe can reduce the final pressure experienced at the kitchen tap. There is no single answer that covers every possible scenario.
Our advice is to take 10% off your calculated Bar pressure – therefore 0.46 Bar becomes 0.41 Bar – we’ll call it 0.4 Bar!!
The next step is to look for a kitchen tap that states a minimum pressure of 0.4 Bar or less. It’s important to note that the lower the pressure rating shown on a tap means you should experience a better flow of hot water. For example: You have calculated that your hot water pressure is 0.4 Bar. In this case, a tap which shows a minimum of 0.2 Bar will work even better than a tap which states a minimum of 0.3 Bar or 0.4 Bar.
We have a specific category on our website which shows a large number of low pressure kitchen taps. In a separate help guide, we will be covering the options available when trying to install a high pressure tap, such as a pull out spray tap or water filter tap, when you have a low pressure or gravity fed hot water system.