


.jpg")


Kitchen & Bathroom Sinks, Taps & Accessories
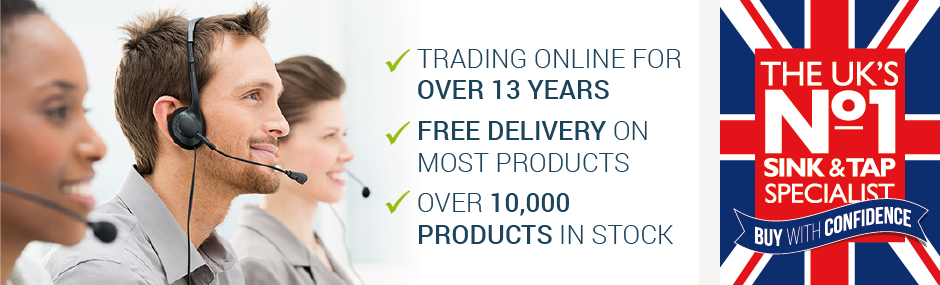
Welcome to sinks-taps.com, one of the UK’s leading specialists in kitchen and bathroom sinks, taps and accessories.
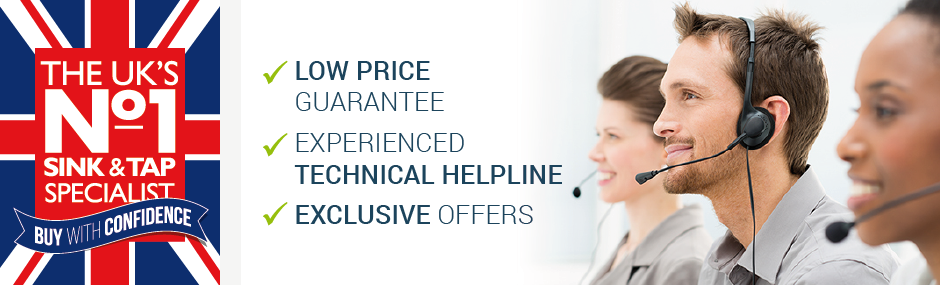
With nearly 30 years’ experience within the kitchen and bathroom industry and over £58million pounds worth of online sales, we pride ourselves on our ability to share this expertise and our extensive product knowledge, and provide a thoroughly personal customer service. Unlike many internet companies, we aim to be as accessible as possible and encourage customer communication via telephone, email and Live Chat
Our website was launched in 2004, making us the first major specialist sink and tap online retailer. We have formed long term partnerships with specialist manufacturers in order to provide our customers with only the best quality kitchen and bathroom products.
Based near York, North Yorkshire, whilst boasting thousands of satisfied customers throughout the UK, we regularly sell our products worldwide; including Scandinavia, America and a pallet of goods was recently delivered safely to New Zealand.
Our bespoke administration system provides automated order processing, which, in turn, allows our small, dedicated customer service team to focus their attention on individual customer enquiries and deal with these effectively.
The majority of goods are inspected by our well-trained warehouse staff and securely re-packaged before despatch, to ensure our customers receive their order in perfect condition, limiting returns and exceeding customer expectations. At sinks-taps.com, we are conscious of our responsibility to the environment and aim to use recycled packaging materials wherever possible.
Let our customers speak for themselves! We have thousands of positive reviews from our satisfied customers, from their purchasing experience and after-sales service, through to the prompt delivery of their order.
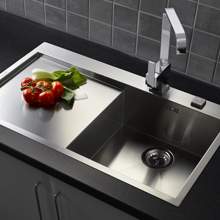
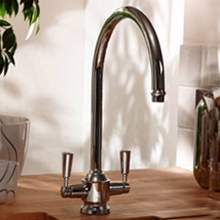
We carefully select the manufacturers we deal with and also offer the best quality of products along with the highest aftersales service, including Kitchen sink and tap brands such as Abode, Blanco, Bluci, Reginox, Perrin & Rowe, Gessi, Caple, Villeroy and Boch, Shaws and Insinkerator .